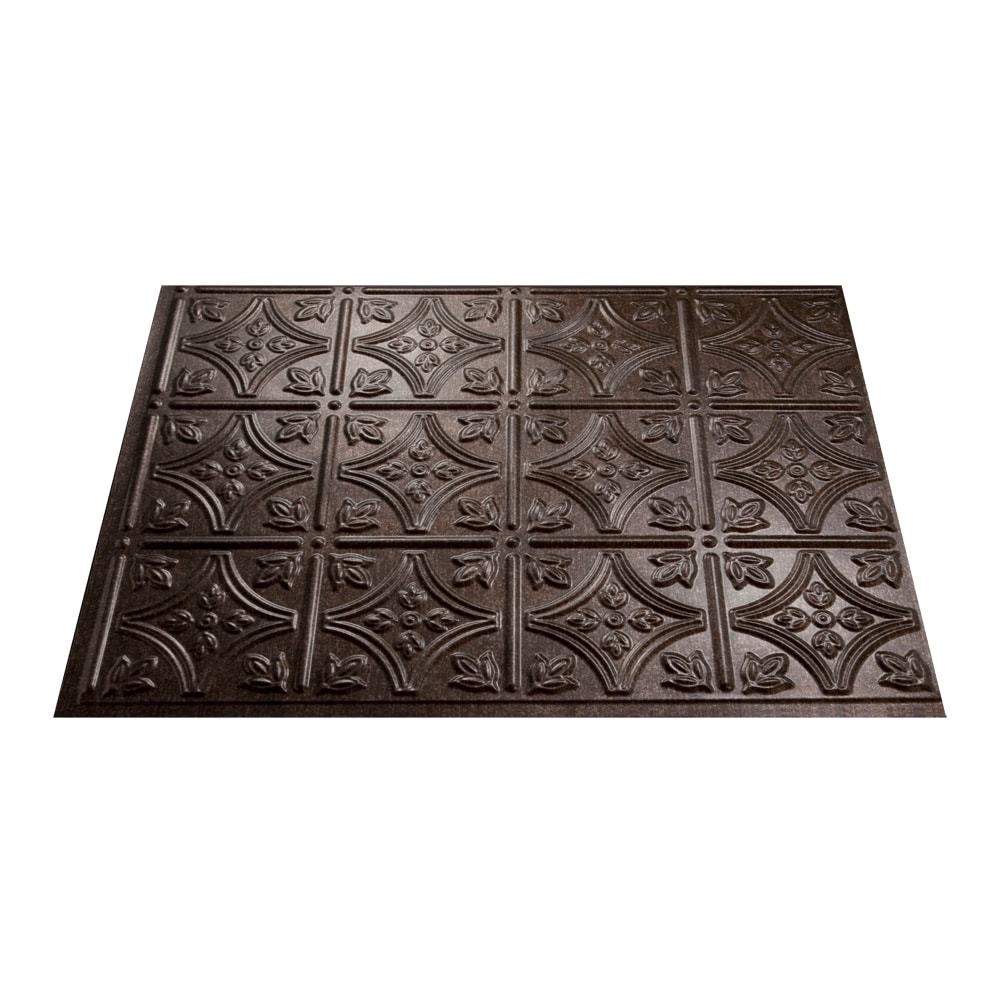
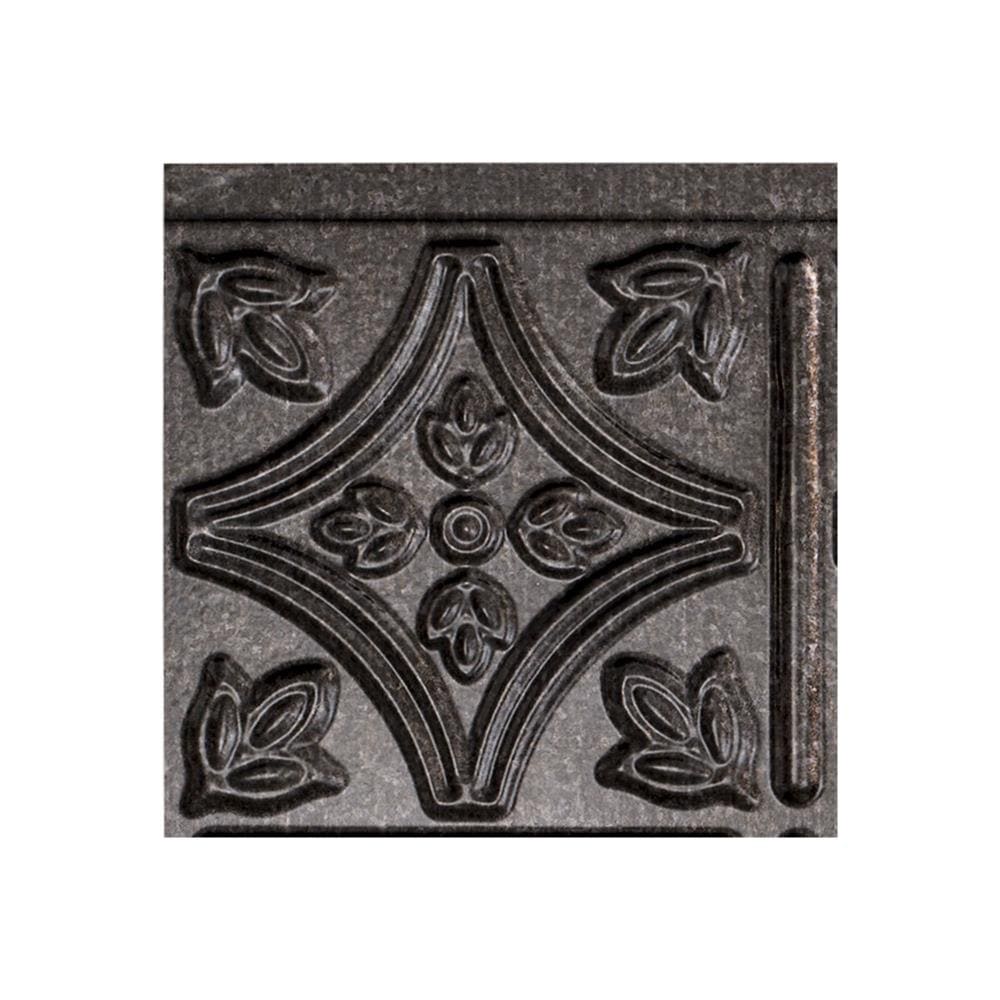
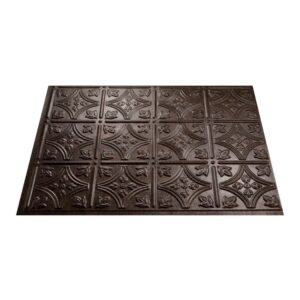
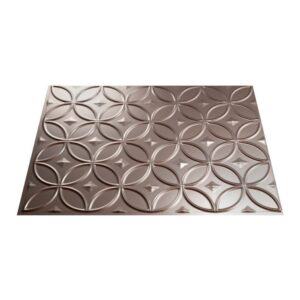
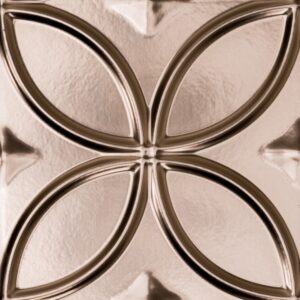
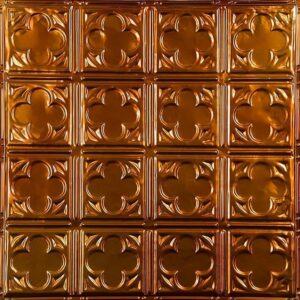
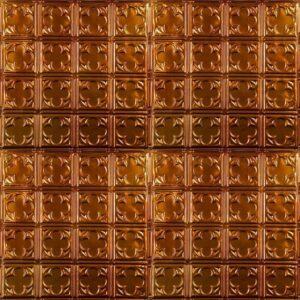
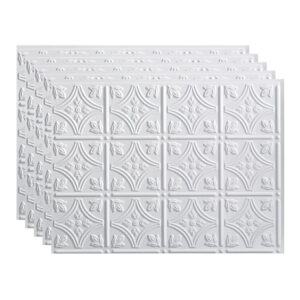
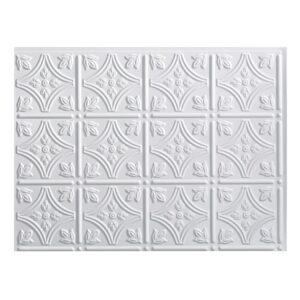
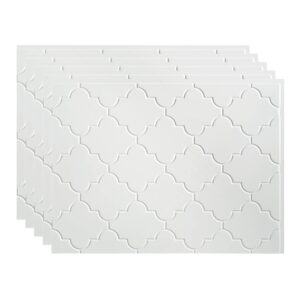
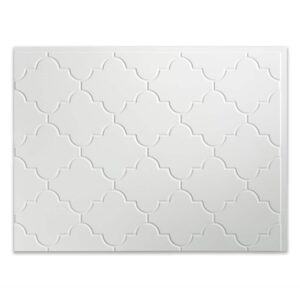
Fasade Traditional 1 18.5-in x 24.5-in Smoked Pewter Backsplash Panels
$23.98
- Get the look of high-end designer backsplash panels without the designer cost
- No contractor required, DIY-friendly project can be completed in just a few hours
- The backsplash panels can be cut with a snip, scissors or utility knife for quick and easy installation
SKU: 764890650270
Categories: Backsplash Panels, Kitchen
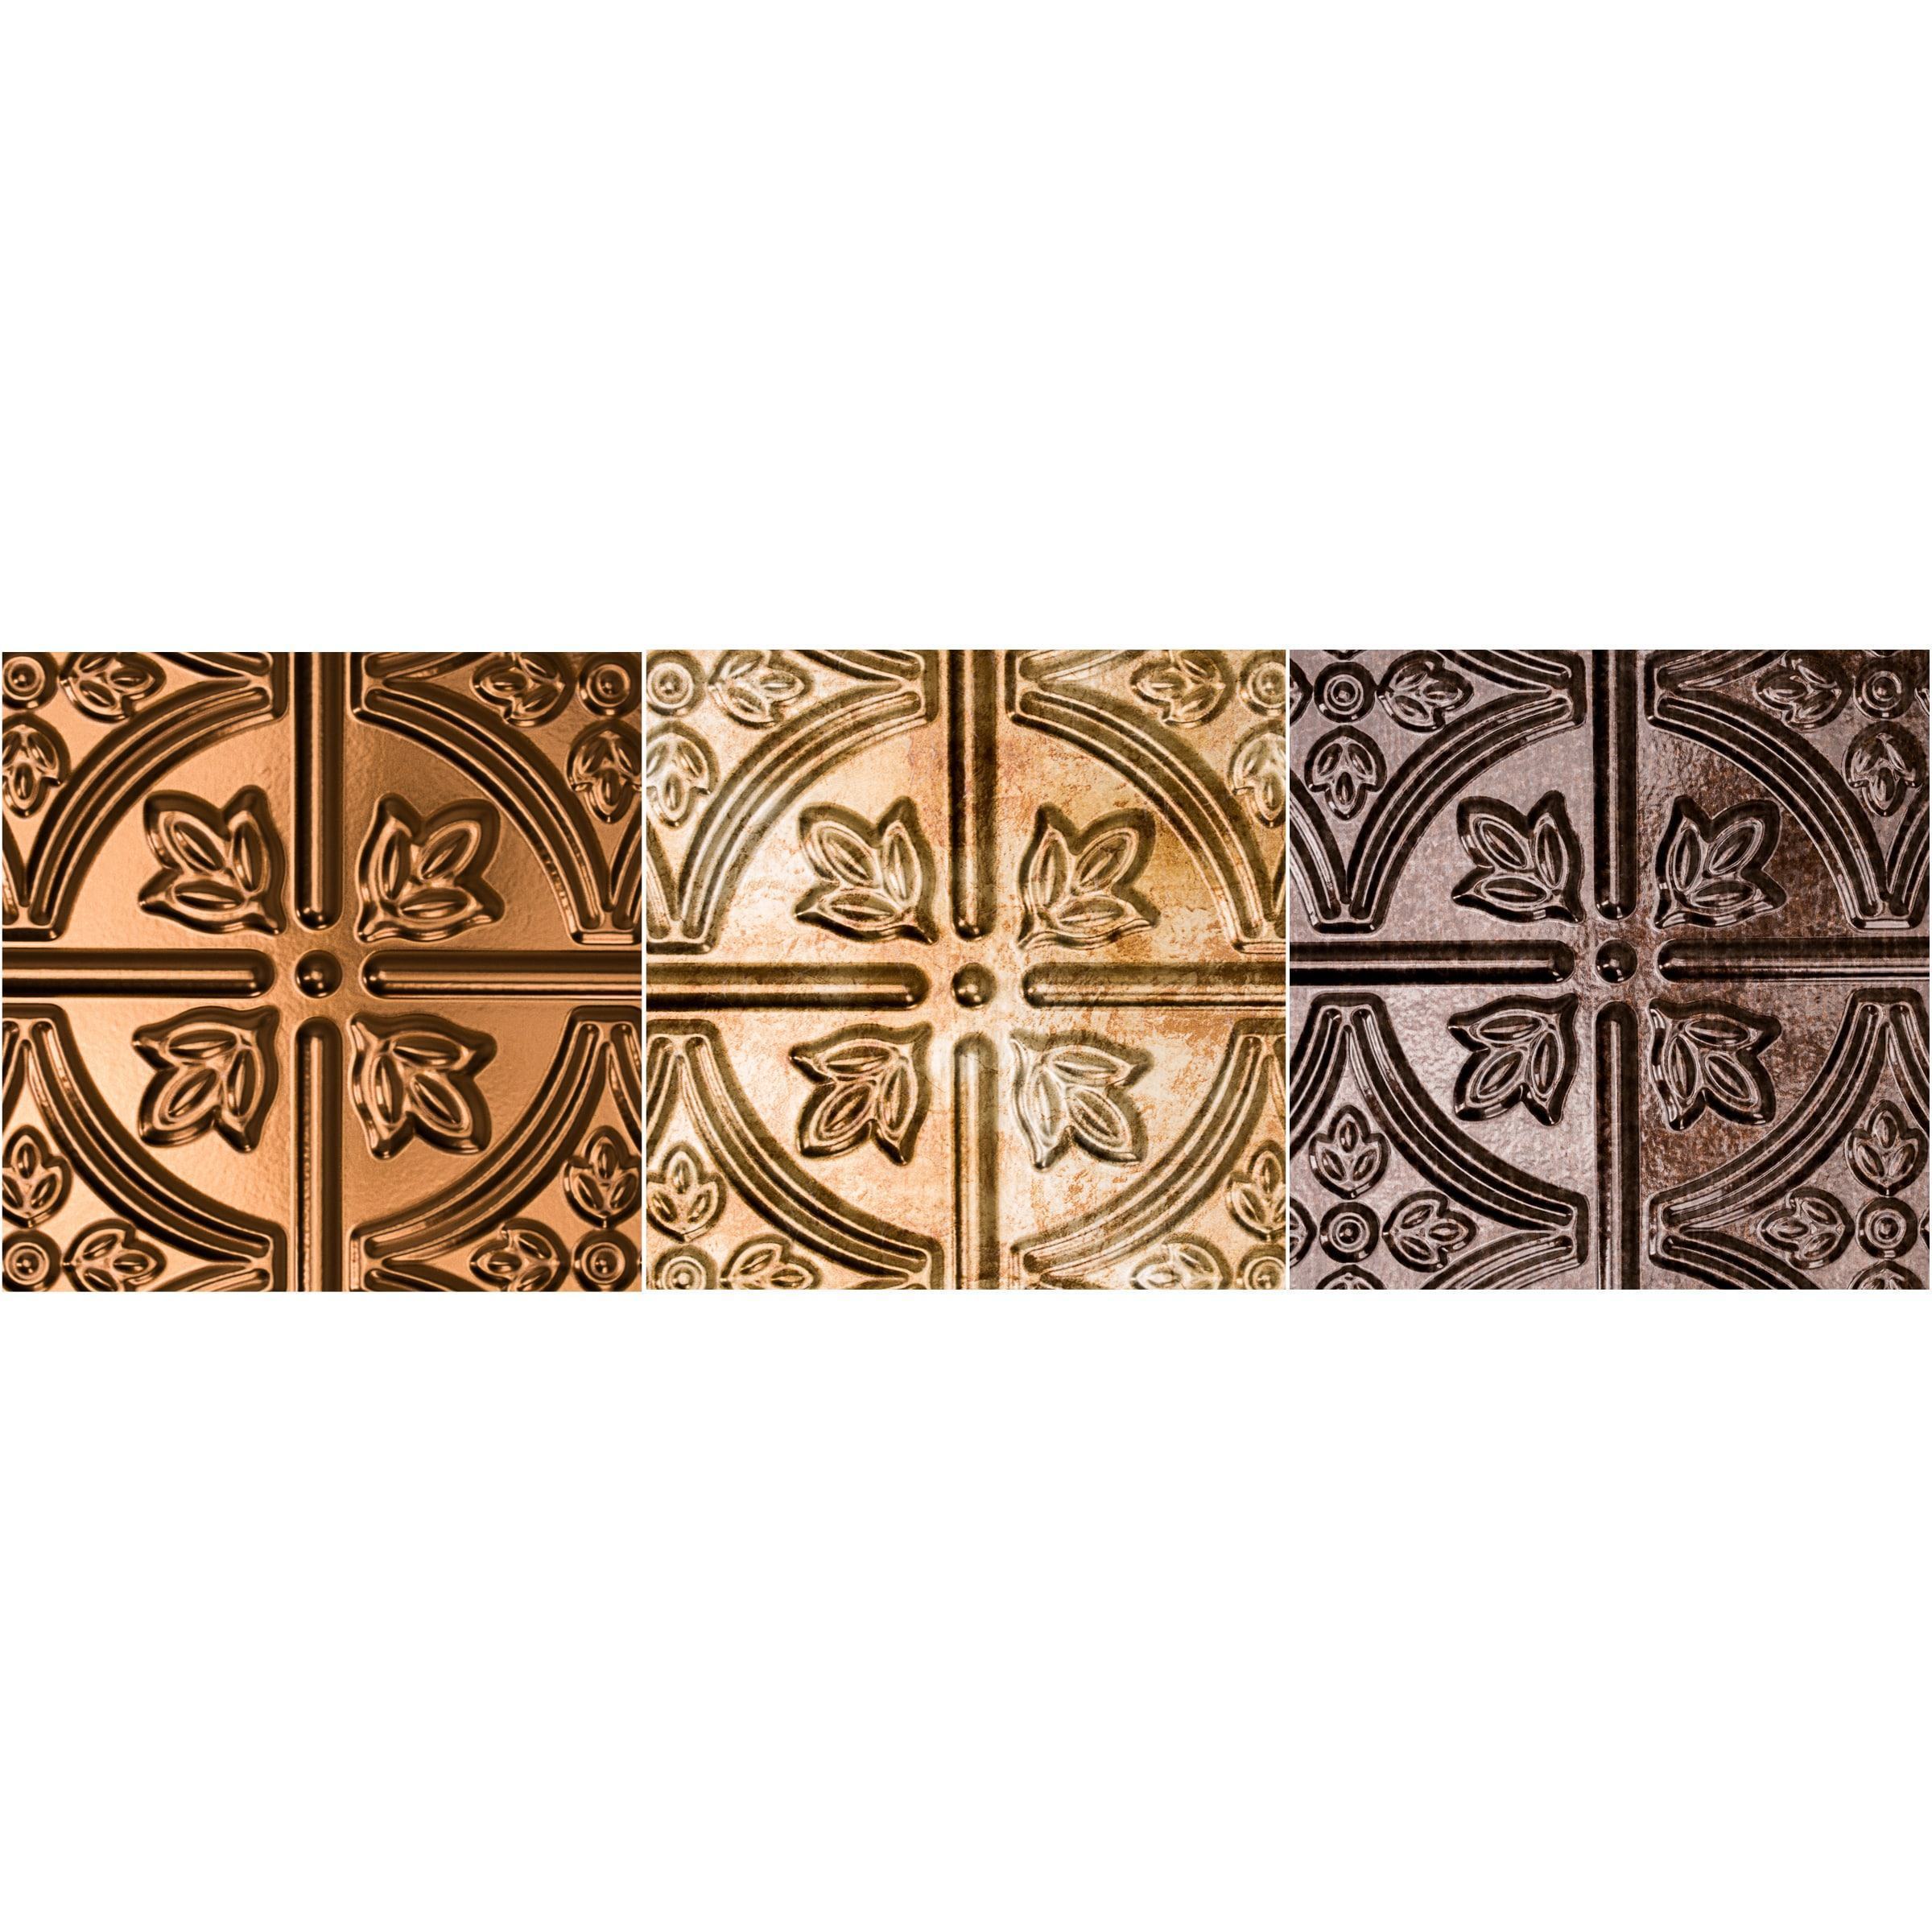
Tags: allen + roth Backsplash Panels, American Tin Ceilings Backsplash Panels, Backsplash Panels, Fasade Backsplash Panels, Multipurpose (kitchen; bath or bar) Backsplash Panels, Oil Rubbed Bronze Backsplash Color Backsplash Panels, Overlap Backsplash Panels, Polished Copper Backsplash Color Backsplash Panels, Sparrow Peak Backsplash Panels, Thermoplastic Backsplash Panels, Wood Backsplash Panels
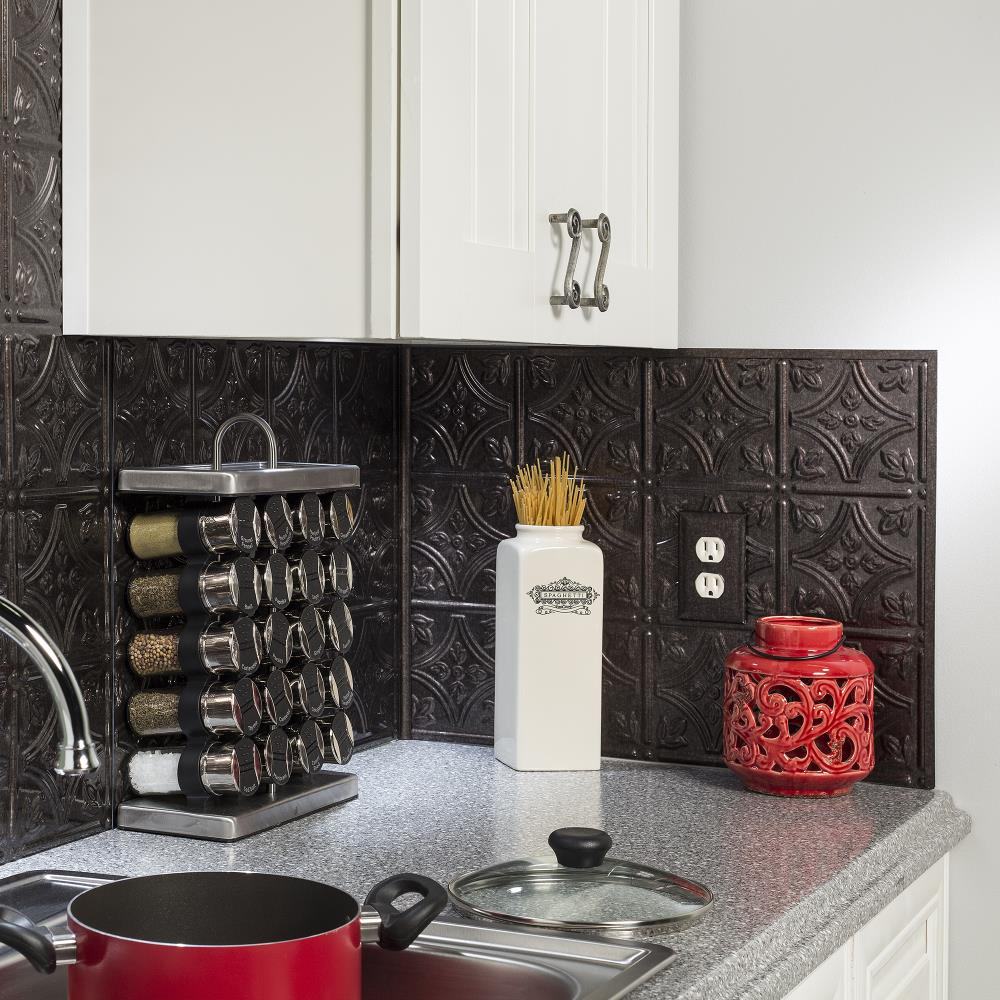
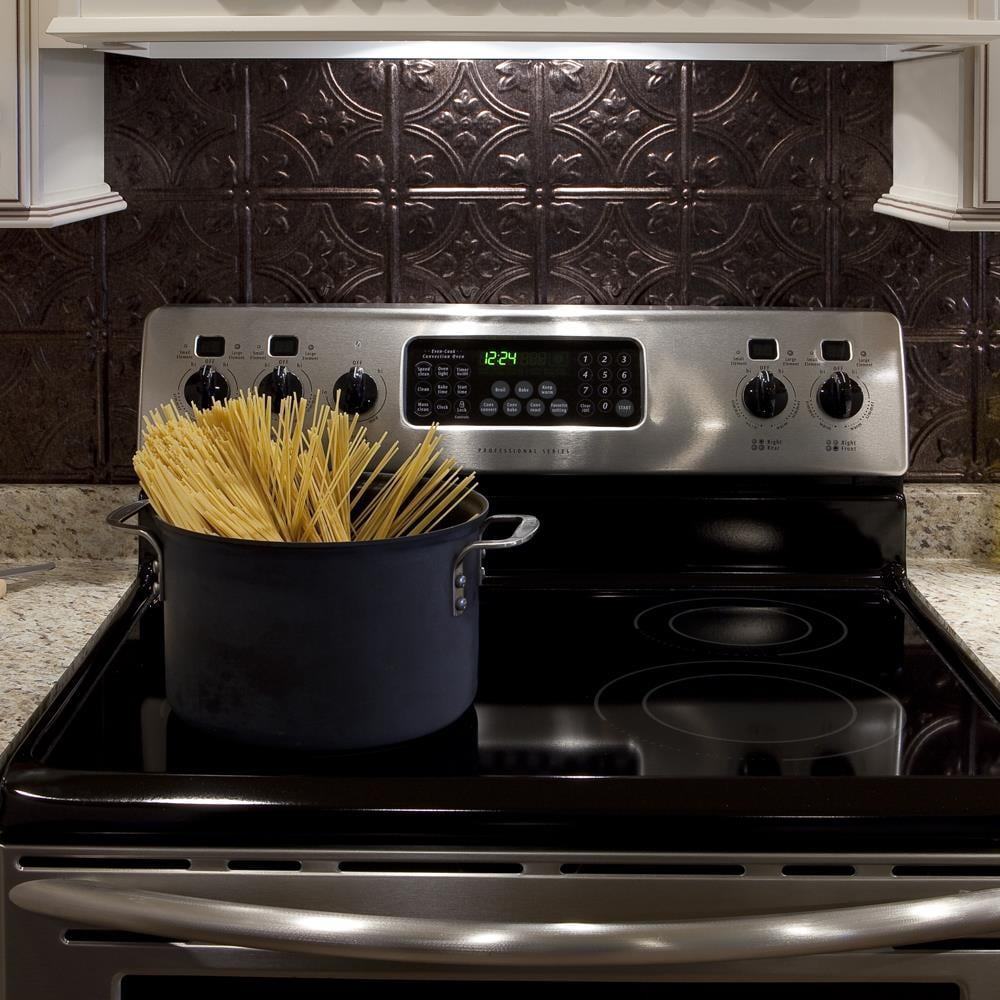
Transform an ordinary kitchen or bathroom into a stylish space. Decorative thermoplastic backsplash panels for use in kitchens and bathrooms provide the classic look of traditional tin backsplash at a fraction of the cost. Whether you’re remodeling an entire room or simply accenting a small area, these backsplash panels create an instant designer look. 18 in. x 24 in. backsplash panels are available in several styles and finishes to provide numerous combinations to meet homeowner needs. Unlike traditional tin panels that require decades to acquire an antique look, these backsplash panels have that turn-of-the-century authenticity right out of the box.
- Get the look of high-end designer backsplash panels without the designer cost
- No contractor required, DIY-friendly project can be completed in just a few hours
- The backsplash panels can be cut with a snip, scissors or utility knife for quick and easy installation
- Installs with 2-sided tape or polyurethane construction adhesive (not included)
- 18-in x 24-in backsplash panels are available in 13 styles and 18 finishes to provide over 200 combinations to meet homeowner needs
- Perfect for remodeling or new construction, panels are water- and corrosion-resistant for exceptional durability
- Panels are resistant to impacts and stains – simple to clean using warm water and soap with a soft cloth
- Matching inside corner-trim and edge J-trim pieces are available (not included)
- Backsplash panel will measure 18-in x 24-in once installed due to 1/2-in overlap for seamless application; refer to specs for actual measurements
| Weight | 0.88 kg |
|---|---|
| Dimensions | 19.0 × 25.0 × 0.2 cm |
| Brand | Fasade |
7 reviews for Fasade Traditional 1 18.5-in x 24.5-in Smoked Pewter Backsplash Panels
Add a review Cancel reply
Related products
Backsplash Panels
Fasade Rings 18.5-in x 24.5-in Brushed Nickel Backsplash Panels
Rated 4.42 out of 5
$23.98
Rated 4.33 out of 5
$91.75
Backsplash Panels
Fasade Skyline 18.25-in x 24.25-in Matte White Backsplash Panels
$69.89
Backsplash Panels
SpeedTiles RangeBacksplash 30-in x 30-in Black Backsplash Panels
Rated 4.50 out of 5
$114.00
$96.83
Backsplash Panels
Fasade Traditional 1 18.25-in x 24.25-in Gloss White Backsplash Panels
Rated 5.00 out of 5
$72.68
Backsplash Panels
Fasade Monaco 18.25-in x 24.25-in Gloss White Backsplash Panels
$69.89
Backsplash Panels
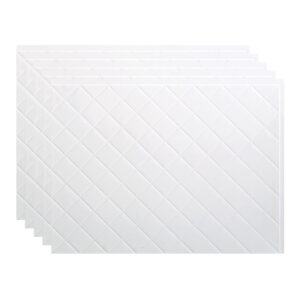
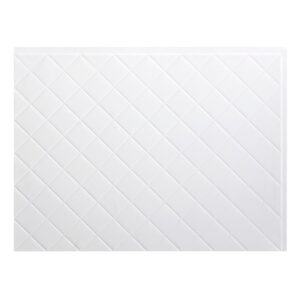
Fasade Quilted 18.25-in x 24.25-in Matte White Backsplash Panels
$69.89






Anonymous –
I used this above my shower. It matches my kitchen backsplash and it is perfect. They are plastic so i dont have to worry about it rusting.
nan –
It looks great. I bought this to replace the peel-and-stick sheets I had previously used as a backsplash, which kept peeling off at the edges. These panels are thin enough to cut and trim with a pair of shears, yet rigid enough to hold in place for trial fittings. The Liquid Nails construction adhesive stays pliable long enough to adjust placement then holds it tightly in place.
Anonymous –
Just some advice for anyone wanting to undertake this project:
– Double sided tape is fine for areas not susceptible to moisture or constant heat (This eventually will dry out any tape adhesive and make it fail)
– Matching the pattern on the corners is a pain, but keep an open mind for workarounds that can look just as good.
– If you get the J-Trim, and corner pieces, you don’t necessarily need a perfect cut.
– Use a medium to heavy-duty pair of shears or snips, with all the ridges and dips in the pattern, scoring it with a box-cutter type blade can be a lesson in extreme frustration unless you are making a small cut out for an outlet or switch (MEASURE A LOT!), your blade can jump unless you add pressure before getting to an area, this can cause you to slip and cut yourself (didn’t happen to me, but I can see it happening).
– Don’t use more adhesive than recommended, and prep the area with a rough grit sandpaper for better adhesion, you don’t have to use power or a lot of pressure, just enough to burr the surface to allow the adhesive to grip, also, rubbing alcohol to clean the backs before applying adhesive and mounting.
– The stickers on the back state the overlap edges are 1/2″, it’s closer to 1/8″, this can be important.
– I’ll say it again…Corners are awful to get right, especially if you get to one and you are a couple inches to go, and your scrap pieces don’t match correctly, just hope it is in a blind area.
– If you have the option, use the brown colored adhesive, I used the standard Loctite type, some of the crud bled out after it settled, a plastic scraper, Goo-Gone, and/or alcohol pads will be your buddy.
– Understanding that theft is an issue, but almost every one of my panels had a not easily removed sticker with anti-theft devices under them, not a big noticeable deal, but if you’re as OCD as I am about making projects perfect, this could be a concern.
– If you have a short, Vietnam-era kitchen, you may have a lot of waste that you can’t use in another area.
– try not to overlap more than two panels, like I did in a 4×4 grid…I had to snip one of the panels underneath two others for it to sit flush.
– Getting frustrated is your worst enemy, leave it alone for the night and come back with a fresh head if you have a difficult kitchen like I do.
– The end result makes the wife happy, now I can get my lawn mower I want, and other toys.
I initially purchased 10 panels, completely winged the installation with nothing but the instructions on the sheet, a pair of medium duty shears, and some Loctite construction adhesive. I had to pull off the old backsplash from my 1968 house, which had a vinyl stick-on over old wood wall panelling, removing this came off like string cheese. After that, I was able to cut the backer I was using, which I treated with an anti-mold/water resistant solution, lightly sanding the wood once I mounted it on the walls. I found myself misjudging a lot of cuts because the product says 1/2″ overlap when it was closer to 1/8″, solving that issue early on, the pieces went up easily, a couple places had some air bubbles trapped in, but nothing that clever use of a couple 2×4 scraps and spreader clamps was not able to fix. My biggest challenge I found was the corners, after consulting with my better half, I decided I would get some cove moulding and paint to match, then glue/nail them in for a more uniformed look. I also learned that if you have to leave a specific area overnight due to frustration or other issues, always leave a 1/2″ area on the edge unglued as it will allow you to slide the next connecting panel underneath without having to chisel off dried adhesive. Starting the project with a relative plan was helpful, I found it easy to measure and write down the areas on the back panel, then measure again when I got to that spot.
But enough about all that, the plastic is durable, I dropped a couple, and while it did maybe ding a corner, it wasn’t so bad that it wasn’t easily covered up, or cleverly hidden. making the pattern match up on connecting panels was a breeze, with the exception of the corners of the room, notably when I got to them and had 2-4 inches left, too much for the corner and J-strips to hide. Thankfully, this plastic doesn’t retain adhesive accidently spilled on it, as long as you have a wet rag handy to fix your oopsies.
I found it to be a bit pricey for plastic, but let’s see how it holds up long term to determine if the value is there, considering wanted to charge me 800$ for a different style backsplash installation, not including removal of the old stuff and new paneling (that quote was around 1100$), I was able to sweat my way through installation for less than half what it would have cost to have a pro do it. My wife gleamed with joy when I revealed it to her after completion. Our old kitchen is starting to look new again, replacing countertops, installing a dishwasher (one didn’t come with the house), and a new faucet. Next in line is painting the solid oak cupboards, replacing the oven, and ripping off wall paper ceiling borders, then all new flooring. We have taken an old school kitchen, and not only made it ours, but we made it appealing when the day comes we are ready to sell it, but after the work I have personally put into it, I hope that day doesn’t come anytime soon.
My almost knows me by name, i’m sure they will see a lot more of me in the coming months.
Anonymous –
We studied hard and it was a tough decision to make. Tile, glass or plastic? In the end it came down to ease of installation, coloring, and price.
We bought numerous tile and several colors of the Plastic and had them sitting on the counter for a week or so. In the end we settled on the bronze plastic, largely because of the dramatic color and low price.
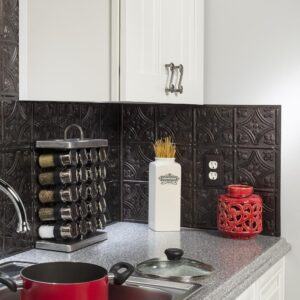
We have stainless appliances. The stove has a black glass top and the sink is black faux granite. The countertops are light and the cabinets are honey colored maple.
The best way to cut this is with good quality sizzors. Don’t try sizzors designed for fabric or paper. I have an electric sizzor that works great on cardboard but was difficult to use on this. I also have heavy duty sizzors and they were close to perfect.
The double sided tape is easy but does not result in a solid installation. I ended up using liquid nails. I did use pieces of double sided tape to place panels before final glue down to make sure of the fit of the panel.
The sheets come with a protective film. Leave this on until you have the panel in position. I used a sharpie to mark my cuts and make notes on the film. To eliminate confusion and accidents I drew arrows showing top and right . It would be very easy to mis-orient a sheet resulting in a loss of a sheet. The space between my counter tops and the cabinets is less than 18 inches and I had to cut every sheet.
If you cut your sheets so any error is on the too large side of things you will find that the sizzors allow you to make very straight cuts taking as little as a 16th of an inch of material at a time.
Buy the same colored pieces for edges and inside corners. They are nearly goof proof. These are hard and brittle and the joints won’t be perfect. I bought a package of the stick on foil used to cover switch and wall plate covers. Small pieces at the corners made the joints nearly invisible.
We did not use the foil for the wall plate covers instead opting for new plates that had color very similar to the bronze. They cost about $6 each and we needed 10 of them. We also replaced the white recepticals with brown ones including the two GFCI outlets. The plastic sheets have raised areas and you might need spacers to bring the receptials out about 1/4 inch. You can buy a package of spacers made just for this purpose.
I used 16 sheets of the plastic and six tubes of liquid nails. Total project cost was $550.00. It took me a full day, working carefully.
The result is eye popping and really enriched the atmosphere. We have a family room opposite the kitchen and will add these panels to an area above the gas fire place to add balance. Tile would have been nice but I am not sure it would have had the same pleasing effect.
Anonymous –
This product, impossible to find at any other home improvement retailer, was ordered to match perfectly to existing product of similar color and construction already installed in our home. The original was installed nine years ago so it was doubtful that the identical item could be located now, but came to our rescue.
Anonymous –
It’s and feels like the real thing.
Anonymous –
I bought this product about 2 years ago to use over my stove as my backsplash area in the entire kitchen is just primed wall. I was worried about the durability of the product so I only did the small space between the range and the hood (where I figure it would take the most abuse from heat and splatter). It came out great in the small space we used it in and it needed 0 maintenance for the next 2 years. It was not until 2 months ago that my wife touched it and was amazed in finding out it wasn’t metal. She loved it so much I began this weekend pulling down the two pieces we put up previously and I am installing it on the entire kitchen. A few notes:
1. Contrary to a lot of the other reviews here I did use the tape on the section I did over the stove and it held great (with no support under it from a counter#. In fact it held so good It tore one of the old panels and pulled the primer off the wall when I removed them.
2. If you are using a repeating pattern like I did be extremely careful when laying out and cutting as not getting them lined up perfectly is very obvious. #Using a border will allow for about 3/16in of play#.
3. I cut mine with standard household scissors and it cut great #used a box cutter to get a cut started for the outlets#.
4. The panels are expensive and it cuts easily so always cut on the larger side and shave down where you need to. you can always cut more but you can’t add.
5. Use the borders, they add such a finished look to it and, as mentioned before, they help give you a little play to line it up perfect.
6. You cannot do a kitchen in two hours if you want it to look good. Give yourself time to do it right. I have about 30 Linear ft of backsplash I’m doing and given what I’ve done so far I estimate about 8-9 solid hours of work to get it right. This is considering I am quite an experienced DIYer. The picture I’ve attached is after about 2 hours and consists of 4 panels and 8ft #one I didn’t even have to cut) but it looks amazing and is more than worth the time.
My only issue is I’ve had to go to three different lowes in my area to get enough material. Everyone carries plenty of panels but not the borders. Considering a middle section that you are just doing the top and bottom border on needs about 4 pieces of border per tile, having 20 panels in stock and 8 borders makes for an interesting hunt and clearing of shelves at multiple locations.